



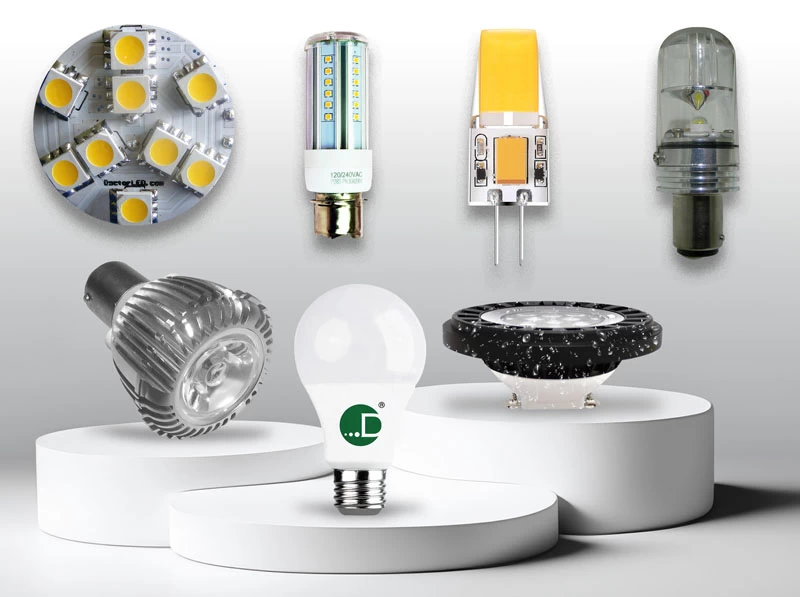
LED lights are known for their long lifespan, energy efficiency, and reliable performance. However, like any electrical device, they can sometimes stop working, flicker, or fail unexpectedly. Whether you have LED bulbs, strip lights, smart LED fixtures, or recessed lighting, understanding the common causes of failure can help you quickly identify and fix the problem.
If you are wondering how to reset LED lights, the solution often depends on the type of LED lighting system you have. Some issues can be resolved with a simple power reset, while others may require checking connections, replacing components, or troubleshooting electrical problems. This guide explains why LED lights stop working and provides practical solutions to get them back in operation.
Common Reasons Why LED Lights Stop Working
LED lights rarely fail without a reason. Most problems are caused by electrical issues, installation mistakes, damaged components, or compatibility problems. Here are the most common causes of LED light failure.
1. Power Supply Problems
One of the first things to check when an LED light stops working is the power source. If the LED fixture is not receiving consistent power, it may turn off completely, flicker, or work intermittently.
Possible power-related issues include:
- Loose wiring connections
- Faulty electrical outlets
- Tripped circuit breakers
- Damaged power adapters
- Voltage fluctuations
How to Fix It:
- Check if other lights or appliances connected to the same circuit are working.
- Make sure the LED light is properly plugged in.
- Reset the circuit breaker if necessary.
- Inspect power cables for visible damage.
- Replace faulty adapters or transformers.
For LED strip lights and smart lighting systems, ensure the power supply matches the voltage requirements of the LED product.
2. Overheating Issues
Although LED lights produce less heat than traditional incandescent bulbs, they still generate some heat. Poor ventilation or improper installation can cause overheating, which may reduce the lifespan of LED components.
Signs of LED overheating:
- Light becomes dim after running for a while
- LED turns off unexpectedly
- Flickering occurs
- Plastic housing feels unusually hot
How to Fix It:
- Make sure the LED fixture has proper airflow.
- Avoid installing LED lights in enclosed fixtures unless they are rated for that use.
- Remove dust buildup around the fixture.
- Replace damaged heat sinks or ventilation components.
Using high-quality LED products designed for specific environments can help prevent overheating problems.
3. Loose or Incorrect Wiring
Loose wiring is a common reason LED lights stop working, especially after installation or remodeling projects.
A poor connection can prevent electricity from reaching the LED chips, causing:
- Complete failure
- Flickering
- Partial lighting
- Intermittent operation
How to Fix It:
- Turn off the power supply before checking connections.
- Inspect wires, terminals, and connectors.
- Tighten loose connections.
- Replace damaged wires or connectors.
- Test the LED light after reconnecting.
For LED strip installations, check both ends of the strip and ensure connectors are securely attached.
4. LED Driver Failure
Many LED fixtures use a driver that converts electrical power into the correct voltage needed for the LEDs. If the driver fails, the LED light may stop working even if the LED chips themselves are fine.
Symptoms of a faulty LED driver:
- Light does not turn on
- Flickering before complete failure
- Buzzing sounds
- Reduced brightness
How to Fix It:
- Check whether the driver is receiving power.
- Replace the driver if it is damaged.
- Make sure the replacement driver matches the LED fixture specifications.
A failed driver is one of the most common reasons commercial LED fixtures require repairs.
5. Incorrect Dimmer Compatibility
Not all LED lights work with every dimmer switch. Using an incompatible dimmer can cause:
- Flickering
- Buzzing noises
- Limited brightness adjustment
- Complete failure
How to Fix It:
- Confirm that your LED bulb is dimmable.
- Use an LED-compatible dimmer switch.
- Check the dimmer’s wattage rating.
- Replace older dimmers designed for incandescent bulbs.
Choosing compatible LED lighting components ensures smoother performance and longer lifespan.
6. Smart LED Lights Need a Reset
Smart LED lights connected through Wi-Fi, Bluetooth, or smart home systems may stop responding because of connection errors or software glitches.
In these cases, resetting the light can restore normal operation.
How to Reset LED Lights
The reset process varies depending on the brand and type of LED light, but these general steps work for many products:
Step 1: Turn the LED Light Off and On
- Switch the light off using the power button or wall switch.
- Wait for a few seconds.
- Turn it back on.
Step 2: Perform a Power Cycle Reset
- Turn the LED light off.
- Disconnect it from power for about 30 seconds.
- Reconnect and turn it on.
Step 3: Use the Factory Reset Method
Many smart LED bulbs require a specific sequence:
- Turn the light on and off several times.
- Wait until the bulb flashes.
- Reconnect it through the mobile app.
Step 4: Reconnect the LED Light
After resetting:
- Open your smart lighting app.
- Remove the old device.
- Add the LED light again.
- Connect it to your Wi-Fi network.
A reset can solve issues such as unresponsive controls, connection failures, and incorrect color settings.
7. Damaged LED Components
LED lights contain multiple small components, including LED chips, circuit boards, and electronic parts. Over time, these components may wear out.
Causes of component damage:
- Power surges
- Poor-quality materials
- Excessive heat
- Moisture exposure
- Long-term use
How to Fix It:
If individual LED components are damaged, replacement is often more practical than repair. For expensive fixtures, replacing internal parts may be possible.
8. Moisture and Water Damage
Outdoor LED lights and bathroom fixtures are exposed to humidity and moisture. If the fixture does not have proper waterproof protection, water can damage internal electronics.
How to Fix It:
- Check the fixture’s IP rating.
- Replace damaged waterproof seals.
- Dry the fixture completely before testing.
- Replace severely damaged components.
For outdoor applications, always choose LED lights designed for weather resistance.
Troubleshooting LED Lights: Quick Checklist
| Problem | Possible Cause | Solution |
| LED light won’t turn on | Power issue | Check outlet, wiring, or breaker |
| LED flickers | Loose connection or incompatible dimmer | Secure connections or replace dimmer |
| LED turns off after a few minutes | Overheating | Improve ventilation |
| Smart LED won’t connect | Software or Wi-Fi issue | Reset and reconnect |
| LED is dim | Driver or voltage issue | Check power supply |
| Only part of LED strip works | Damaged strip or connector | Replace connector or section |
How to Prevent LED Lights From Failing
Regular maintenance and proper installation can significantly increase LED lifespan.
Follow these tips:
- Buy LED lights from reliable manufacturers.
- Use the correct voltage and power supply.
- Avoid exceeding recommended wattage limits.
- Keep fixtures clean and dust-free.
- Use compatible dimmers and controllers.
- Install outdoor LEDs with proper waterproof ratings.
- Avoid covering LED fixtures that require ventilation.
Final Thoughts
LED lights are one of the most efficient lighting solutions available, but problems like power issues, overheating, wiring faults, and connection errors can affect their performance. Many common problems can be fixed through simple troubleshooting, while others may require replacing damaged components.
Whether you need replacement bulbs, commercial lighting solutions, or energy-efficient upgrades, Buy LED Online offers a wide selection of reliable LED lighting products designed for different applications. Choosing quality LED lights and installing them correctly can help ensure better performance, longer lifespan, and greater energy savings.
